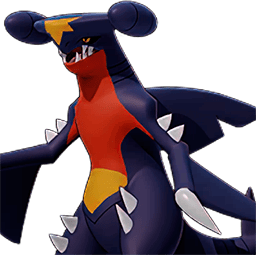
Big Dragon Energy Garchomp - Semmbie
Use your Combo-Wombo to control areas and win fights
Build Path
BulldozeFirst Pick
Dragon Rush
Displacement. (+)Slow.
Dragon Claw
Damage. Displacement. Then: Attack boost. Attack speed up. (+)Damage.
Livid OutrageUNITE
Damage. Displacement. Self-stun.
Stat Boosts
Critical Damage
Shield (Upon Unite)
Guide
Grinding to Masters with a "low-tier" 'mon isn't as hard as it may seem -- though it might require a good bit of confidence and a lot more focus throughout the entire 10-minute game. There are really specific power spikes that you need to know how to play around, requiring constant mob grinding and skirting team-fights and objectives, probably moreso than most other heroes because of how EXP-greedy you need to be.
While Garchomp *really* appreciates the experience of bottom lane, I primarily run top, since it guarantees you avoid the situation where both top-laners choose to push Rotom instead of Drednaw. If you're playing on a team, though, letting Gible go Bot is probably preferrable.
This set epitomizes Garchomp's role as an All-Rounder. At times you're pushing as the carry on a team, so knowing how to utilize your BDE is essential (Big Dragon Energy). Other times (read: Zapdos fights) you're using Dragon Crush to keep multiple people pushed out of Zapdos, almost as effectively as Snorlax does with Block but with higher damage potential. The one thing this build doesn't do that often is score -- that's not a big deal. Some games your final stats might seem a bit below what you'd expect, but a well-played Garchomp never lets the team feel like it has to babysit, then to really pop off with peak damage and CC late-game.
One note: do yourself a favor and get good at Dragon Crush. It only takes maybe 6-8 minutes in a practice fight to get ahold of the mechanics (works for *both* Garchomp and Gabite btw!). Right when Dragon Rush winds you up in the air, hit Dragon Claw. You'll know it's the combo move when the normal side-swiping Claw become the Big Blue Blade animation (I love calling it Dragon Crush because yes). This move combines the rushing/pulling effect of Rush with the damage of Claw, though I believe the total damage of Crush is slightly lower than a regular Claw-Rush. However it does still count as three hits for your boosted basic, so using X Attack-Crush-basic attack gets you doing a lot of damage quick, or can be used to escape a mosh (Escape Button isn't missed). The aiming is a bit more punishing though, so practice counter-acting the snap-back effect of the controller!
On the items: Scope Lens only procs (I believe) on Dragon Claw, Rush, Crush, and your boosted basic while the 5+ effect is active. However, once you get Scope Lens to 10~20, it really makes a difference. Focus Band is huge both in the early and late game, as it'll often keep you alive long enough to proc your boosted basics and kill an unsuspecting Snorlax or Slowbro. Same with Buddy Barrier, though I've been toying replacing it with Muscle Band. BB still comes in handy to turn the tides of late-game team fights, so it's always good
I think this is a really fun set that requires your focus and skill, without relying heavily on team support. I almost always feel comfortable running this set in Ranked -- now go make Cynthia proud!
Works Well With
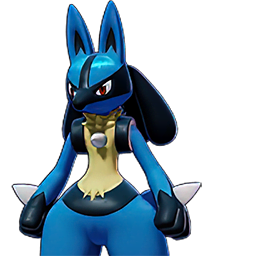
Strong early game which tapers off just as you get Garchomp online. I've never been disappointed laning with a Lucario.
Pokemon Unite .GG thanks user Semmbie for sharing this guide on how to play Garchomp. Be sure to support your favorite creators by upvoting their builds, videos, and anything else they share you find useful. You can also check this user's page for more build guides.
There are indeed many ways to play Garchomp in Pokemon Unite, and you can find more builds here, as well as detailed information about Garchomp's moves and the items you can assign to it.
Perhaps you have a better build in mind? Try creating your own!
For more information on build guides, check out our detailed FAQ page to answer any more questions you may have.
